Last updated November 20, 2026
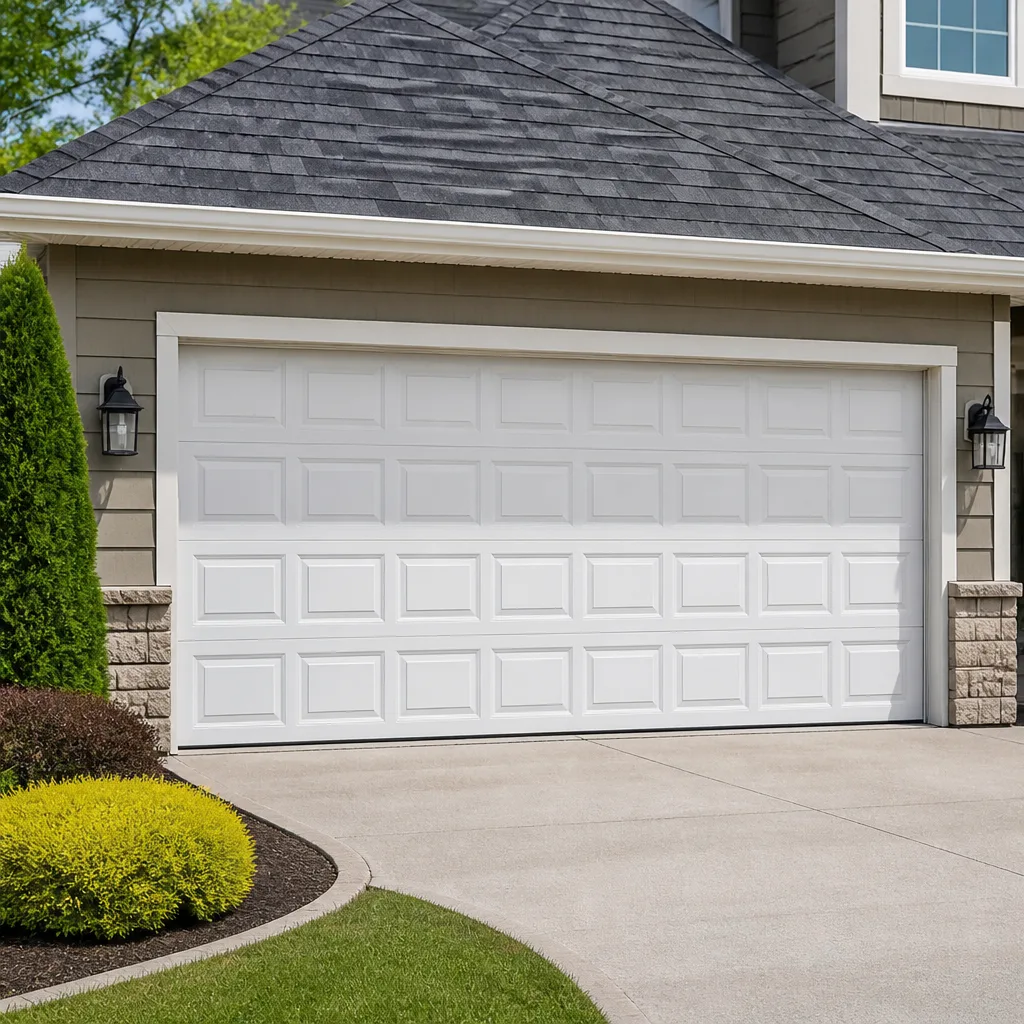 Raised-panel steel
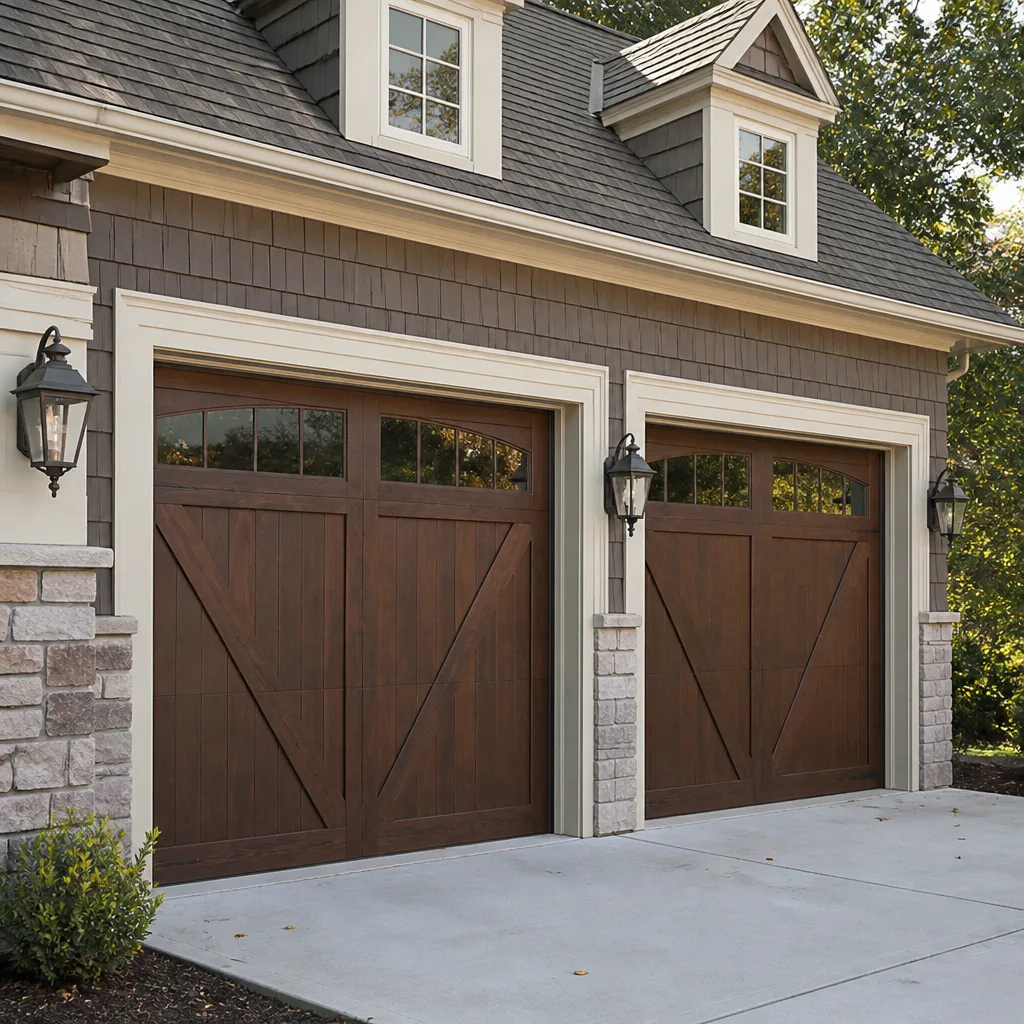 Carriage house
 Modern flush
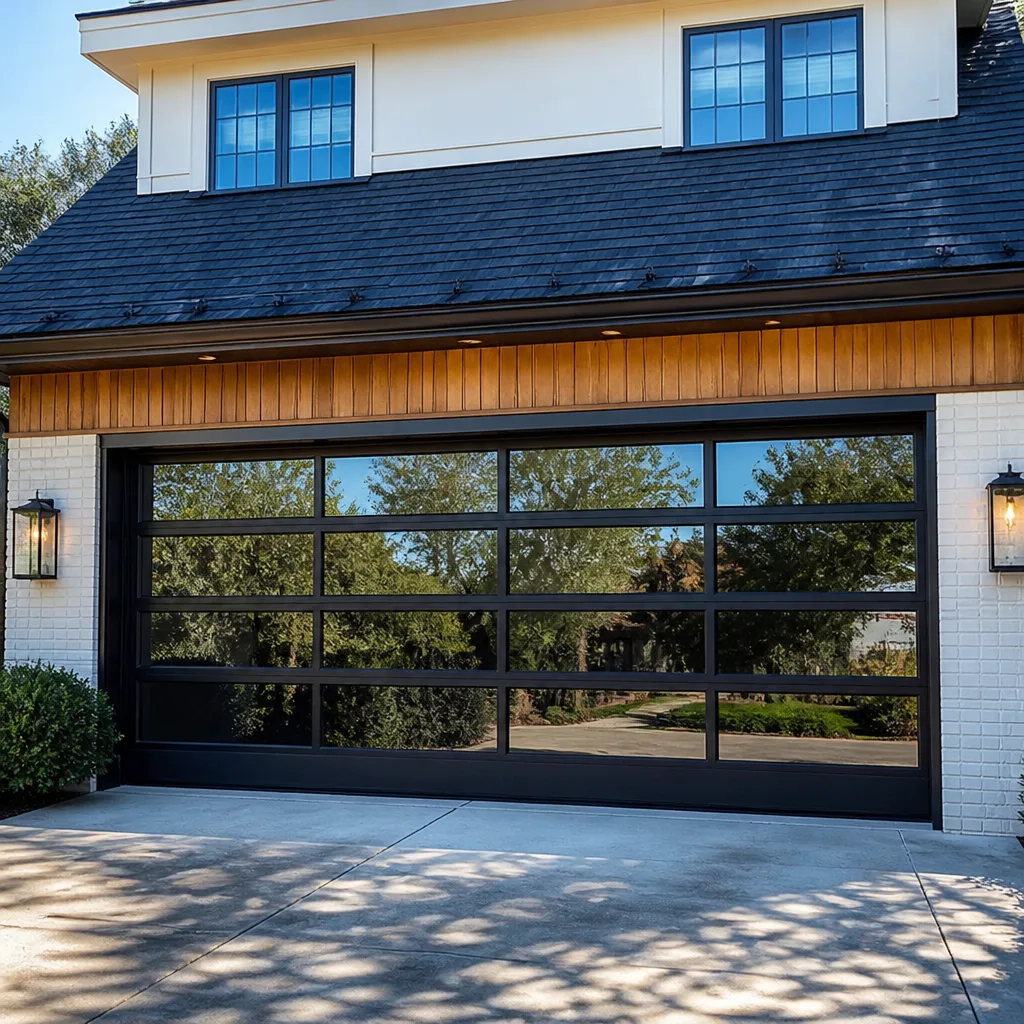 Full-view glass
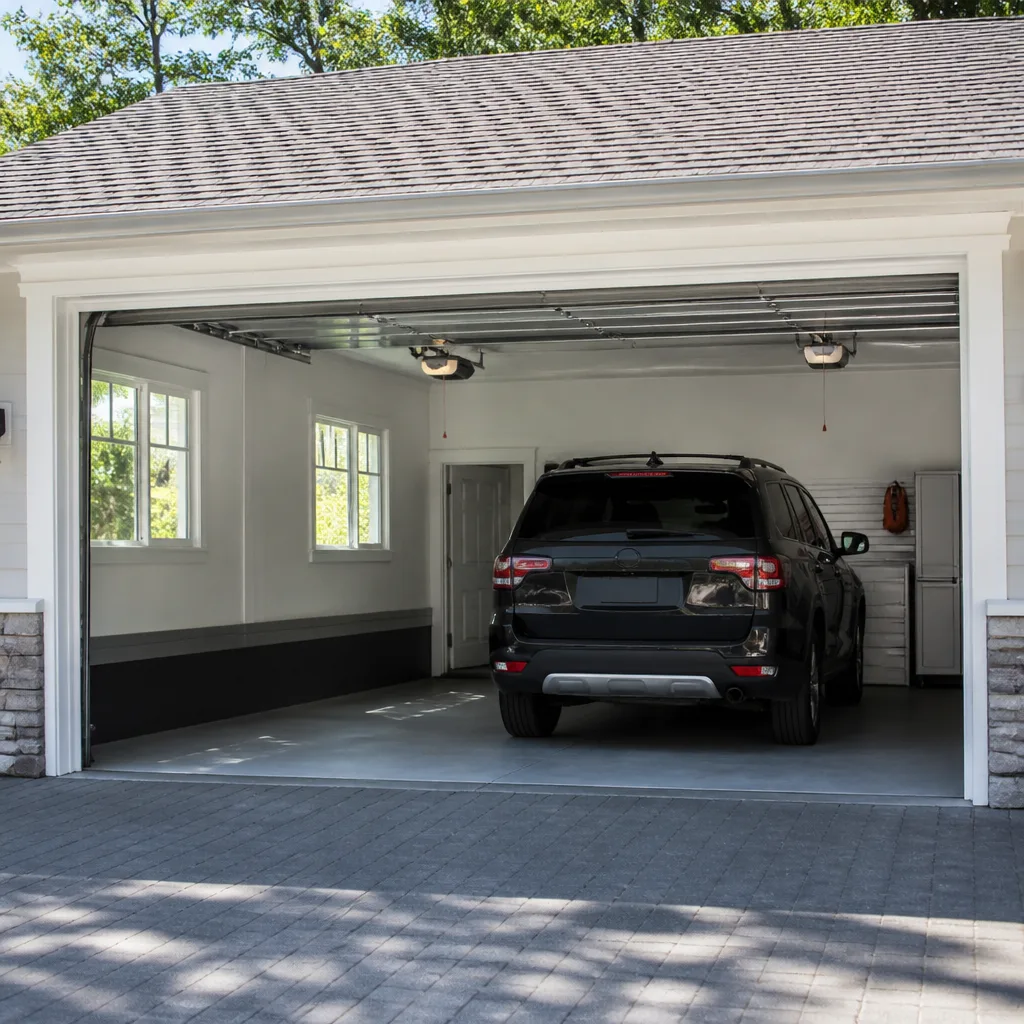 LiftMaster openers
 Chamberlain openers
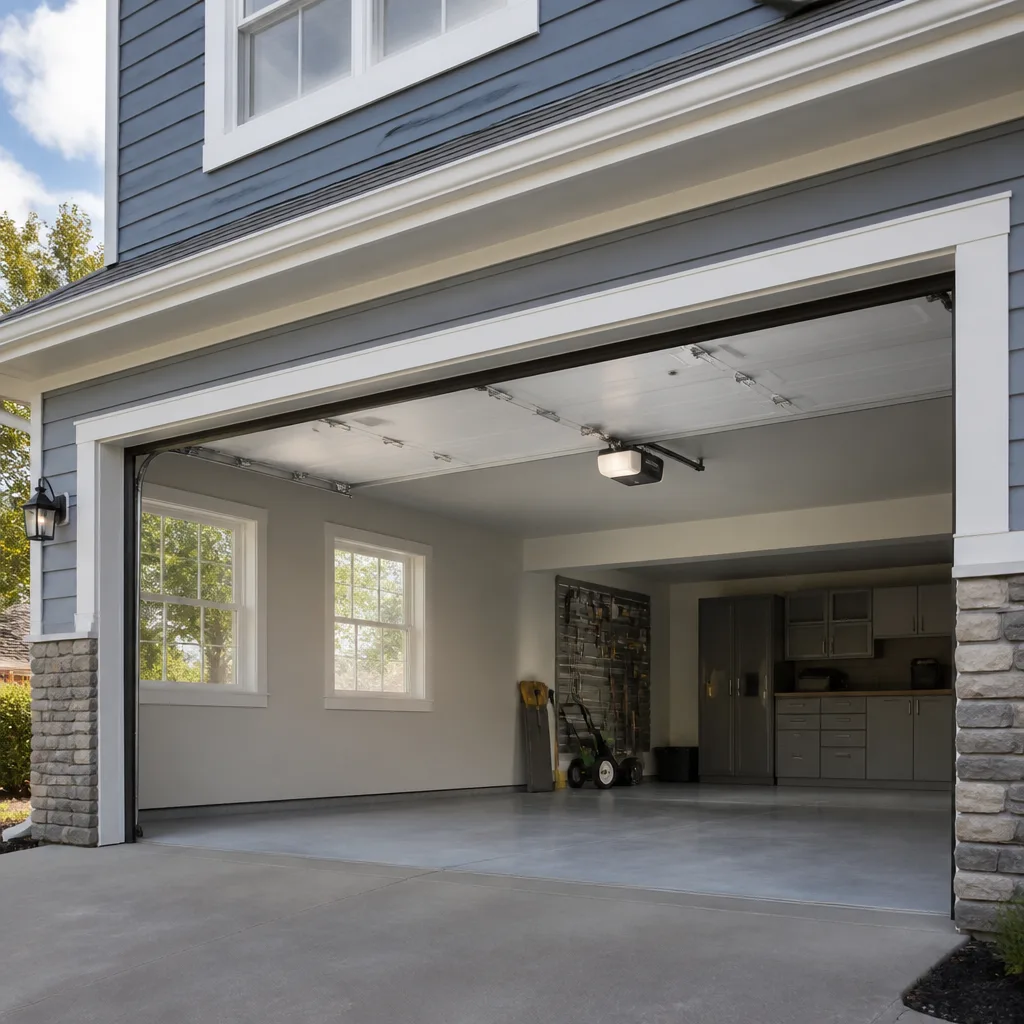
Full 25-point door and opener safety check with every visit - springs, cables, rollers, tracks, and your LiftMaster or Chamberlain opener included
You get a price before we start. It does not change when the pro arrives.
Get your free estimateGarage Door Repair Maintenance Checklist for Bellevue Homeowners
The number-one cause of premature spring failure isn’t age. It’s rust, accelerated by moisture that a five-minute annual inspection would have caught. In Bellevue, that inspection window matters more than in most U.S. cities, because our wet winters keep the inside of a garage damp for months at a stretch and our temperature swings work torsion springs back and forth through thousands of cycles a year. Yet most “maintenance checklists” floating around the internet tell you to “lubricate moving parts” and call it done. Which parts? Which lubricant? What are you actually looking for at each step? This guide answers all of that, calibrated to how doors actually wear in Bellevue. You’ll get a real monthly, quarterly, and annual schedule, the right products for springs, rollers, and hinges, how to test balance and auto-reverse without tools, how to spot rot at the bottom seal before it climbs into the frame, and which well-meaning fixes quietly void your manufacturer’s warranty.
Quick Answer
A complete garage door maintenance routine for Bellevue means four things: a monthly visual and safety check, quarterly lubrication with the correct product, an annual balance and spring inspection before and after the wet season, and a weather-seal check each fall. Lubricate springs, hinges, and bearing plates with a lithium- or silicone-based garage door lubricant (never WD-40), test the auto-reverse monthly, and watch the bottom seal for moisture damage every few months. Springs and cables are high-tension parts – those always belong to a trained technician.
Styles & brands we work with
- Raised-panel steel
- Carriage house
- Modern flush
- Full-view glass
- LiftMaster openers
- Chamberlain openers
Table of Contents
- Monthly, Quarterly, and Annual: The Bellevue Maintenance Schedule
- Which Lubricant Goes Where (and Why WD-40 Is the Wrong Call)
- How to Test Balance and Auto-Reverse Safely Without Tools
- Springs, Rust, and Bellevue’s Wet Winters
- Weather-Seal Inspection: Catching Rot Before It Reaches the Frame
- Which Maintenance Tasks Void Your Manufacturer Warranty
- Opener and Smart-System Checks
- Brand-Specific Notes: What Wear Looks Like on Clopay, Amarr, and Wayne Dalton Doors
Monthly, Quarterly, and Annual: The Bellevue Maintenance Schedule
A useful checklist tells you when to do each task, not just what to do. Here’s the schedule we recommend to homeowners across Bellevue, organized by how often each item comes up.
Monthly (about 10 minutes)
- Look over the whole door from the inside with it closed. Note any dents, bent panels, or new gaps.
- Run the door up and down and listen. Grinding, squealing, or a heavy shudder means something needs attention.
- Test the auto-reverse safety feature (steps below).
- Check that the photo-eye sensors by the floor are lined up and unobstructed.
- Pull the manual release and open and close the door by hand to feel for rough spots.
Quarterly (about 20 minutes)
- Lubricate springs, hinges, rollers, and the opener’s rail and chain or belt.
- Tighten the bolts on the hinges and track brackets. Loose hardware is the usual source of rattles.
- Wipe down the tracks with a damp cloth. Don’t grease them – solvent-based parts stay dry.
- Look at the bottom weather seal and the sides for cracks, curling, or moisture held against the threshold.
- Check that the door sits level across the opening when closed.
Annual (before and after the wet season)
- Inspect torsion or extension springs for rust, gaps, or a stretched, uneven coil.
- Have a technician check cable tension, drum condition, and the torsion hardware.
- Test the balance of the door with the opener disconnected.
- Inspect the door panels, frame, and threshold for rot or mold, especially along the bottom edges.
- Review opener force and travel limits, and re-check the safety sensors.
Bellevue’s wet season runs long, so the “after” inspection matters as much as the “before.” If something on your door has already moved past what maintenance can fix, a garage door repair visit is the right call before the problem gets expensive.
Which Lubricant Goes Where (and Why WD-40 Is the Wrong Call)
The single most repeated piece of garage door advice – “spray it with WD-40” – is also one of the worst. Standard WD-40 is a solvent, not a lubricant. It displaces moisture and cleans, and then it evaporates. On a torsion spring, that leaves the coils dry and exposed. On a roller, it strips the original lubricant and leaves a sticky film that attracts grit, which then grinds against the bearing. You’re left with a noisier door than you started with, plus a film that holds dust against metal in a damp Bellevue garage. Use the right products instead.
The right lubricant for each part
- Torsion and extension springs: a lithium-based or silicone-based garage door lubricant, sprayed lightly along the coil. This is the part that benefits most, because rust is what kills springs.
- Hinges: a white lithium grease or a silicone spray. Focus on the pivot points where the hinge plates meet.
- Rollers (steel): a few drops of light machine oil at the bearing, not the wheel surface. Nylon rollers usually need nothing – check the manufacturer’s guidance.
- Bearing plates and the torsion shaft: light silicone spray, wiped in.
- Opener rail and chain: a chain-and-cable lubricant, or a light grease designed for the opener, following the manufacturer’s spec. LiftMaster and Chamberlain chain drives take a light application; belt drives usually need only the rail wiped and cleared.
Never use grease on the tracks. Tracks are meant to stay dry and clean. If you live near any of Bellevue’s green belts or the forest edge at places like Bridle Trails, expect more grit and pollen on the rails and wipe them down more often.
If your door has a high cycle count, note that the lubricant interval shortens. A two-car home that opens three or four times a day puts a lot of strain on springs and hinges; a quarterly application is closer to the right rhythm than the annual one for that situation.
How to Test Balance and Auto-Reverse Safely Without Tools
Two tests you can run today, both without a single tool, tell you whether the door is in good shape or the opener is compensating for a problem you can’t see. Here’s exactly what each test means.
The balance test
- Close the door and pull the manual release cord (the red handle) to disconnect the opener.
- Raise the door by hand to about waist height and let go.
- Watch what happens. A balanced door should stay roughly where you left it. If it sinks, the springs are losing tension. If it drifts up, springs are too tight or the door is too light.
- Lower the door and reattach the opener.
A door that drops quickly on its own is a spring problem. Do not reach under it, and do not attempt to adjust the springs yourself – a torsion spring holds enough stored energy to cause serious injury. Note what you saw and call a technician. Balance problems are exactly the kind of thing a scheduled Bellevue Garage Door Repair Co visit catches before a spring snaps.
The auto-reverse test
- With the door open, place a small block of wood (about 1.5 to 2 inches high) flat on the floor in the door’s path.
- Close the door using the wall control. When the door contacts the block, it should reverse within a couple of inches.
- Then test the photo-eye sensors: with the door open, pass a broomstick or your leg through the sensor beam. The door should reverse or refuse to close.
If either test fails, stop using the opener until it’s corrected. A door that doesn’t auto-reverse is a safety hazard to people and pets. On modern LiftMaster and Chamberlain openers with myQ, the sensor check is the same – the app won’t warn you if the physical sensors are misaligned.
Springs, Rust, and Bellevue’s Wet Winters
Springs don’t fail from age alone – they fail from corrosion. A torsion spring on a Bellevue garage door spends the winter cycling through damp air, and each wet-dry cycle lifts the surface a little more. When rust pits the coil, the metal fatigues at that spot and eventually snaps. This is why the annual inspection matters more here than in a dry, warm city. What you’re looking for is subtle: a thin orange bloom at the base of the coil, a powdery residue on the torsion bar bracket, or a coil with wider gaps in one area than in another.
What to look for on your springs
- Surface rust: orange or pale brown at the coil edges. Light rust is a maintenance cue – a technician can lubricate and inspect it.
- Pitting or flaking: deeper corrosion. This is the point where replacement becomes the honest answer.
- Gaps or uneven coils: a stretched spring on an extension system, or a torsion spring that has started to lose tension.
- A snapping or dropping door: if the door suddenly falls fast, or a loud bang comes from the torsion bar, a spring has likely failed. Stop using the door.
Spring repair is a named service for us, and it’s the most dangerous single job on any garage door. Two things to know: the price quoted for a single spring is not the price of a pair, and most systems use a matched pair that should be replaced together. If you’re working out which approach applies, garage door repair covers both repair and pair replacement and can quote on the phone or in person.
Weather-Seal Inspection: Catching Rot Before It Reaches the Frame
Bellevue’s wet winters are hard on the bottom seal. Water wicks under the door, gets trapped between the rubber and the threshold, and starts to soak the bottom rail of the door itself. Left alone, that moisture creates the familiar black spotting of mold or mildew, then softens the wood into rot – and once rot reaches the jamb and the door frame, the repair goes from a $40 seal replacement to a structural job. The good news is that you can catch this early with a two-minute check each quarter.
The four-point seal check
- Open the door and look at the bottom seal from the side. A healthy seal sits flush and runs in a straight, unbroken line. Curling, gaps, or cracked rubber mean it’s time to replace it.
- With the door closed, slip your fingers along the bottom edge where it meets the threshold. A tight seal should resist a gentle push; if it slips through easily, water can too.
- Look for dark spotting or a musty smell on the threshold and the trim. Mold on the threshold is common in Bellevue; the questions are how deep the moisture goes and how long it’s been there.
- Inspect the bottom panel and the jamb where the seal meets them. Any softness in the wood, bubbling paint, or lines of discoloration are rot signs and belong to a professional inspection.
If you find mold or rot, the fix is never just bleach and a new strip of rubber. The source of the moisture has to be addressed – usually a worn threshold, inadequate seal, or a door that’s riding slightly low on one side. Call a trained professional. A sealed, level door is also part of the garage door repair work we do most often in Bellevue in early winter, when the seasons turn.
Which Maintenance Tasks Void Your Manufacturer Warranty
A manufacturer’s warranty on a Clopay, Amarr, or Wayne Dalton door, or on a LiftMaster opener, has conditions attached. Most are sensible – the door has to be installed and adjusted as specified, and it has to be maintained. But a few of the “helpful” fixes homeowners get told to try will actually void coverage. This detail is missing from nearly every generic maintenance checklist, and it matters most when you’re two years into a new door and something goes wrong.
What typically voids coverage
- Adjusting the torsion spring yourself. Torsion and extension springs are classed as professional-only hardware on most doors, and any DIY adjustment can void the spring warranty.
- Using the wrong lubricant. WD-40 or generic grease on springs and bearings can be cited in a warranty denial; the manufacturer specifies the product type. Use lithium or silicone, never solvent-based sprays.
- Tampering with the opener’s force or travel limits. If you increase force to compensate for a stiff door, that’s an opener modification and typically voids coverage on the opener.
- Painting or refinishing a factory-finished door incorrectly. Some finishes require specific prep. Check with the manufacturer before you paint a steel door or a wood-composite panel.
- Modifying the door or hardware. Drilling into a panel, swapping out rollers for a different spec, or adding struts without the manufacturer’s recommended part can void the warranty.
Read the specific warranty that came with your door before you do anything beyond lubrication and cleaning. If you don’t have it, the manufacturer (or their authorized specifications) can tell you what’s covered. And if a problem is genuinely a warranty issue, our recommendation is to keep the record straight – don’t “fix” it yourself before asking.
Opener and Smart-System Checks
The opener is the part of the system homeowners interact with most, and the part most likely to be blamed for a door problem that’s actually caused by the door. Here’s what to check on your opener this quarter.
Every quarter
- Safety sensors: clean the lenses, confirm the indicator lights are steady, and re-test the beam. Leaves, cobwebs, and pollen can interrupt them.
- Rail and chain: wipe the rail clean and lubricate the chain with a chain-and-cable product. Belt drives usually need less.
- Force and travel: the door should fully open and close without forcing. If the door bounces or reverses early, the limit settings are off, not the motor.
- Manual release: make sure the red handle pulls easily and the door re-engages cleanly afterward.
Every year
- Battery backup (if present): replace the battery at the recommended interval.
- Smart-system check: LiftMaster and Chamberlain myQ, and Genie Aladdin, should still report status, work from the app, and connect reliably. If the app shows problems the wall control doesn’t, that’s a network or module issue, not the door.
- Legacy units: older Craftsman units are robust but their sensors drift and their remotes age out. If yours is over a decade old, a diagnostics check is worthwhile.
For anything beyond lubrication and cleaning – motor noise, sensor failure, or a system that won’t pair – garage door opener repair is the right next step. We work across LiftMaster, Chamberlain, Genie, and Craftsman units, including both legacy and smart-home-enabled models, and can quote the fix upfront before any work begins.
Brand-Specific Notes: What Wear Looks Like on Clopay, Amarr, and Wayne Dalton Doors
Most maintenance advice is written for a “generic” door. In practice, each brand has its own wear pattern. These are the patterns we see most often in Bellevue, and what to watch for on each.
Clopay doors
Clopay steel doors tend to show wear at the bottom panel first, especially along the seam where the panel meets the bottom rail. In Bellevue’s wet winters, that’s where moisture collects. Check the bottom edge for paint bubbling and the panel joints for rust, and keep the bottom seal in good shape to protect it.
Amarr doors
Amarr’s insulated steel doors are generally well-sealed, but the hinges on higher-cycle doors wear noticeably. The pivot points benefit from a quarterly white-lithium application, and the door’s balance should be re-checked after any significant change in cycle count.
Wayne Dalton doors
Wayne Dalton’s panel systems show up most often in the way the door seats and in the track brackets. Loose brackets are a common source of rattle, so check and tighten the mounting bolts every quarter. Their torsion and extension hardware should be left to a professional for any adjustment.
The rest of the system
Opener brand matters too, but the door matters more. That’s why our technicians prepare on the door first and the motor second. If you’re planning a replacement rather than a repair, garage door installation covers the full set of measurements and door options – an in-person visit gives you a written price before any work is scheduled.
Common Mistakes to Avoid
- Using WD-40 as a lubricant. It’s a solvent, not a lubricant. On Bellevue’s damp springs, it strips existing protection and leaves the coil drier than before.
- Greasing the tracks. Greased tracks collect grit and pollen, and the door starts to drag. Tracks stay dry and clean – that’s it.
- Adjusting torsion springs without training. The most dangerous item on the whole checklist. Torsion springs are stored energy, and a slip can cause serious injury. Leave them to a trained technician.
- Increasing opener force to compensate for a stiff door. That masks a balance or spring problem and can void the opener’s warranty. Fix the cause, not the symptom.
- Putting off the bottom-seal check through the wet season. In Bellevue, a small leak at the seal becomes rot in the door frame fast. Two minutes of checking each quarter prevents a much larger bill.
- Using the wrong product on a painted or finished door. Solvent cleaners can dull factory finishes. Use gentle soapy water, and dry the surface after.
- Skipping the balance test after a spring change. A door that hasn’t been re-balanced after spring work will strain the opener and wear the hinges. Always re-test after any spring or hardware work.
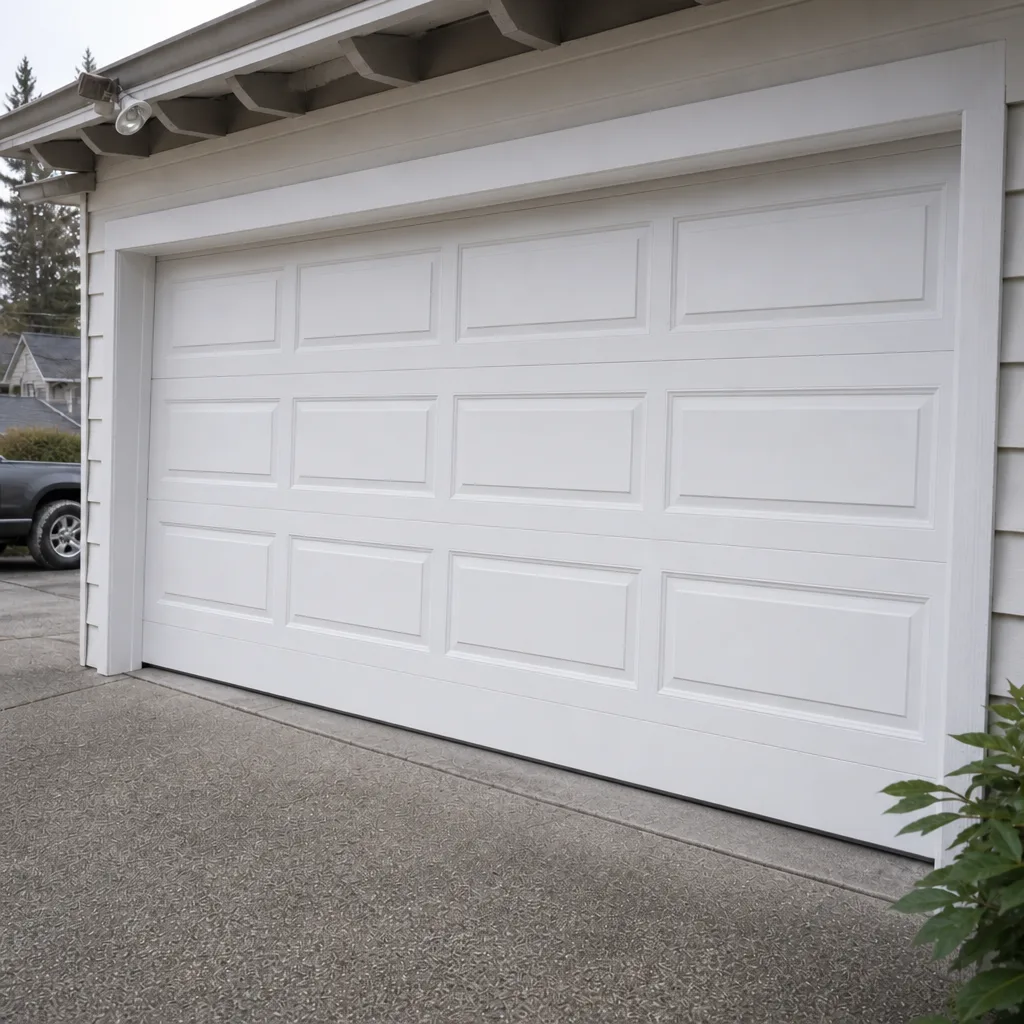
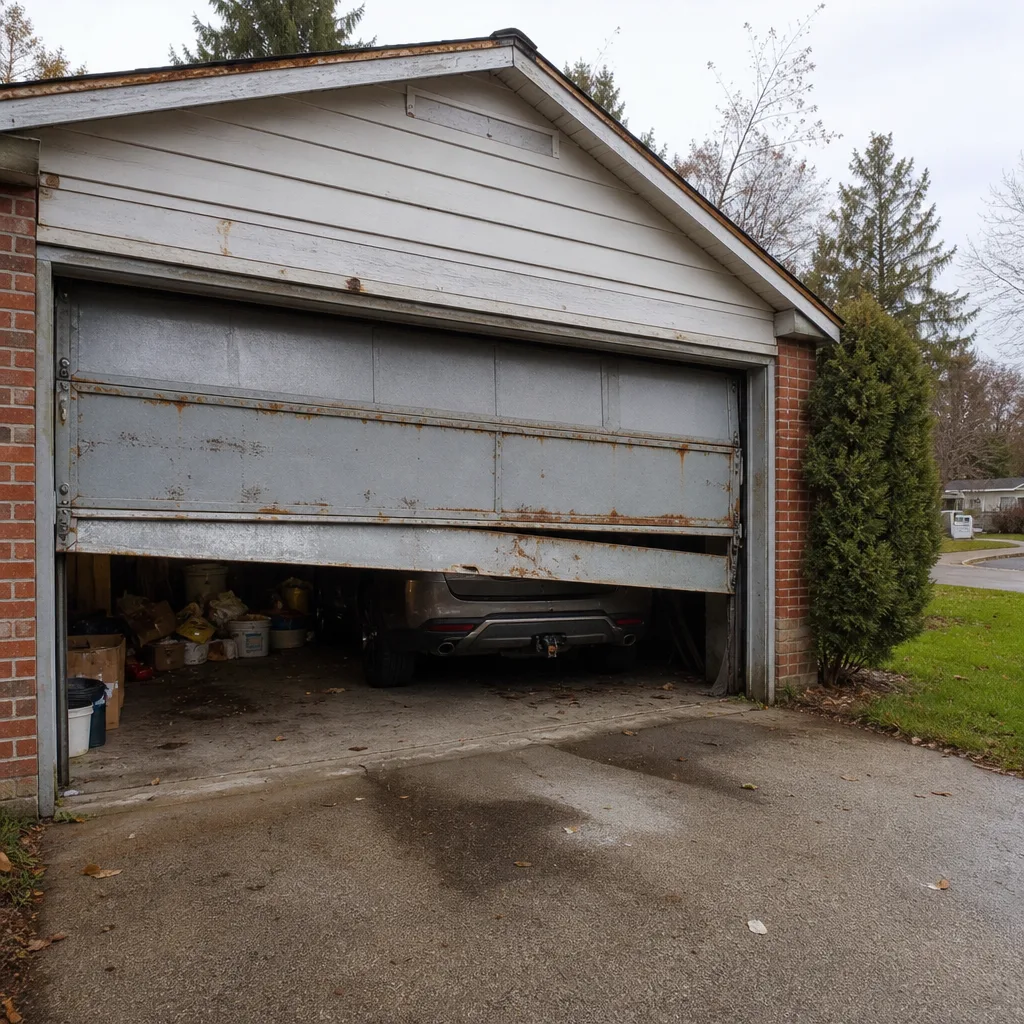
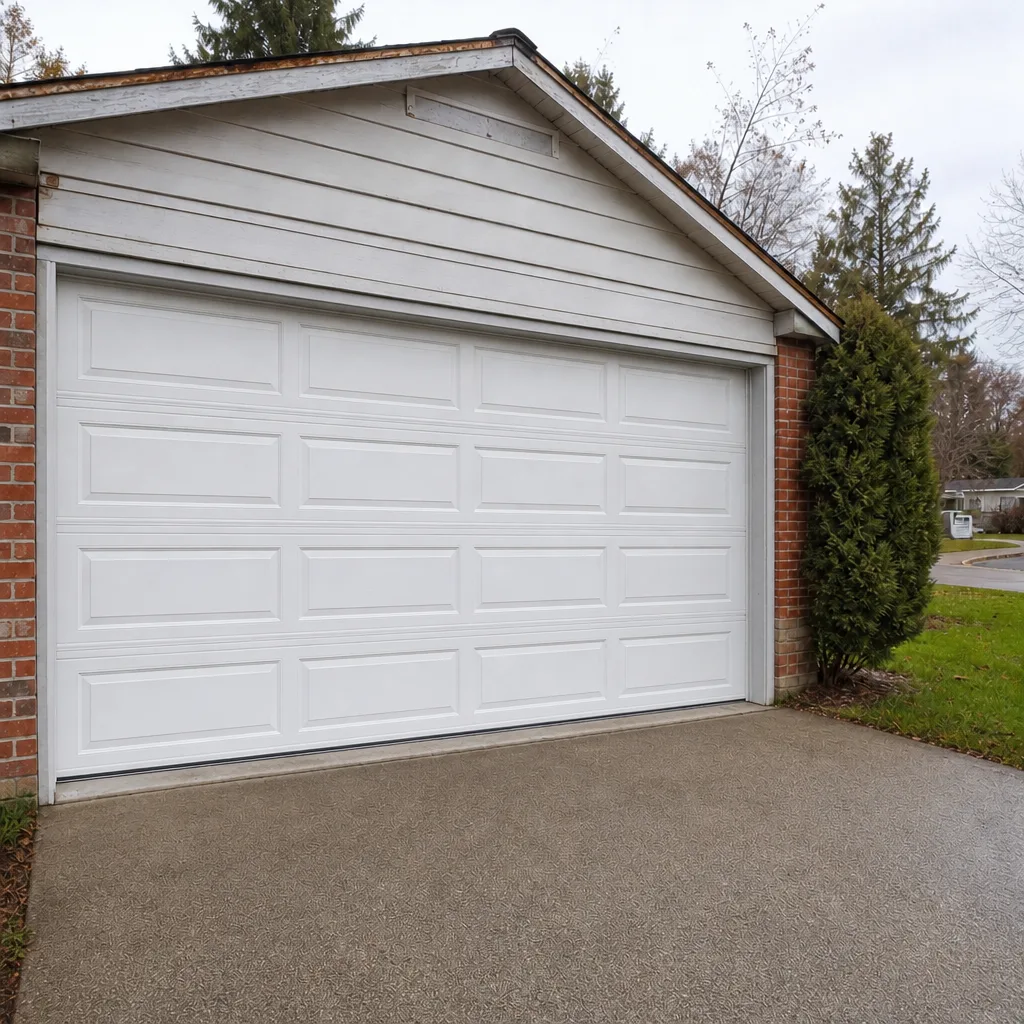
See the difference
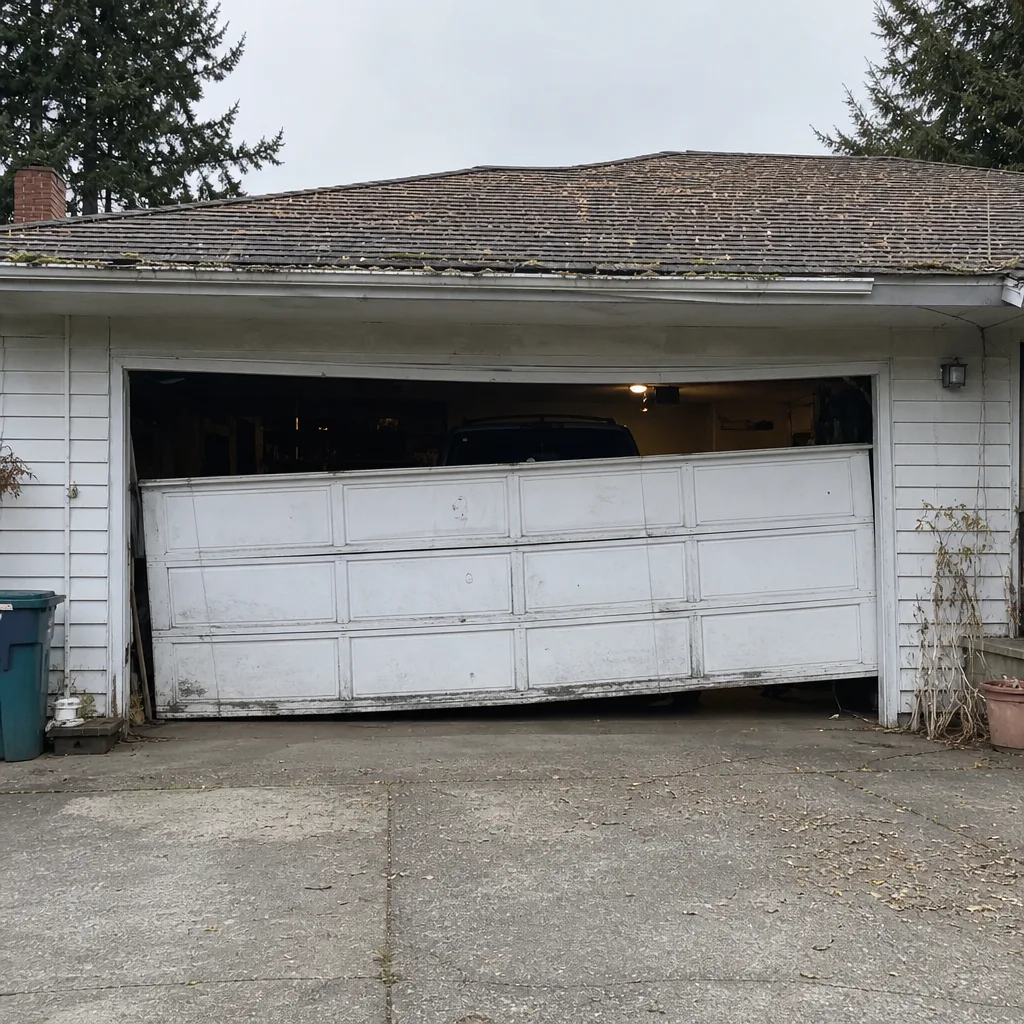 Before
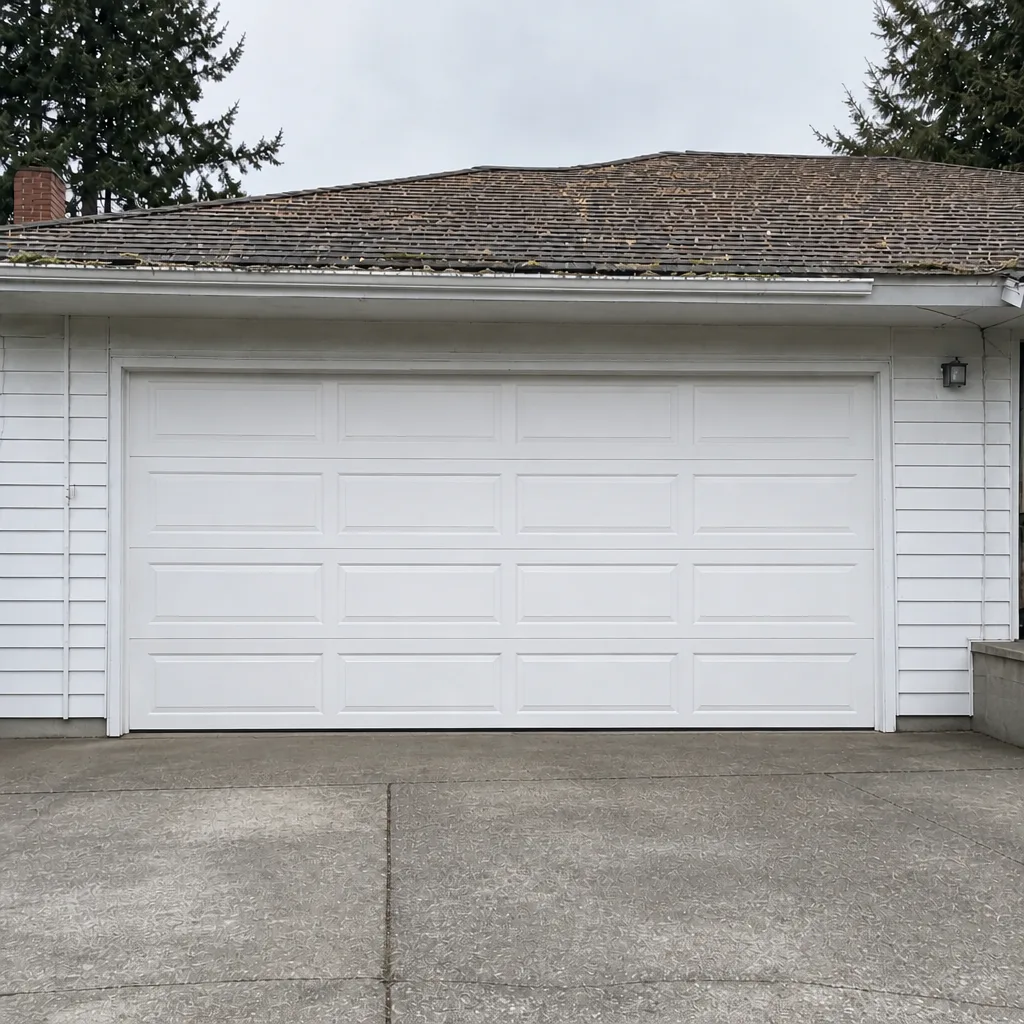 After
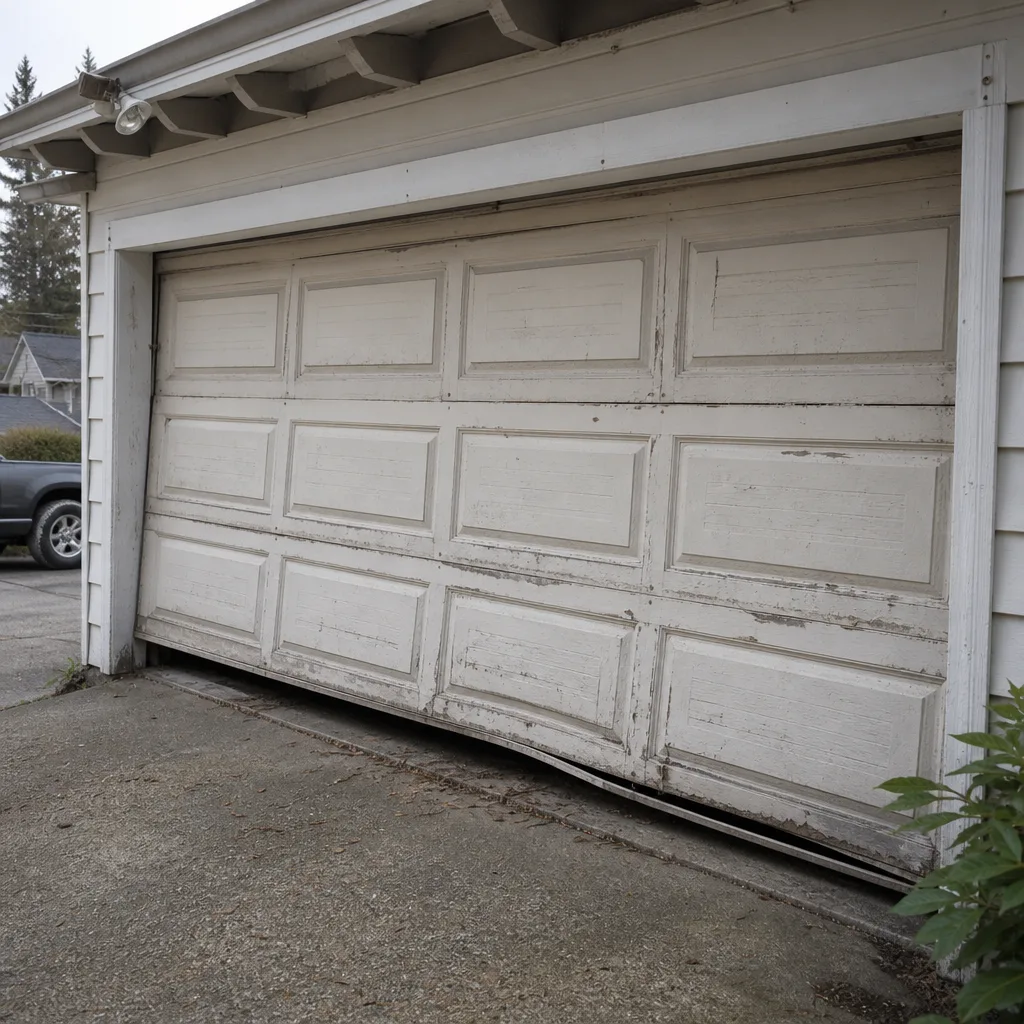 Before
 After
 Before
 After
When to Call a Professional
Some tasks are yours, and some aren’t. Call a professional if any of these are true: a spring is broken or visibly rusted, the door is out of balance or doesn’t auto-reverse, a cable is frayed or detached, the door is off its tracks, or you’ve found rot or mold at the seal and frame. Also call if the opener runs but the door doesn’t move – that’s a disconnect or hardware problem, not a motor failure. Never attempt torsion spring work yourself. Bellevue Garage Door Repair Co offers free estimates in Bellevue – call (877) 541-3559, and our technicians will quote before any work starts. Across Clopay, Amarr, Wayne Dalton, Craftsman, and the full roster of major brands, a single call covers the whole door.
Frequently Asked Questions
Monthly for a quick visual and safety check, quarterly for lubrication and hardware tightening, and annually for a full spring, balance, and weather-seal inspection. Bellevue’s long wet season makes the annual inspection especially valuable – run it once before the wet months and once after. Call (877) 541-3559 for a free estimate if anything looks worn.
You can apply a lithium- or silicone-based garage door lubricant lightly along the spring coil, and that’s a sensible maintenance step. What you can’t do is adjust or replace a spring yourself – that’s high-tension work and belongs to a trained technician. If you see rust, gaps, or an unbalanced door, don’t touch it. Call (877) 541-3559 for an inspection.
A lithium- or silicone-based garage door lubricant on springs, hinges, and bearing plates. Use white lithium on hinge pivots, light machine oil at steel roller bearings, and a chain-and-cable product on opener chains. Avoid WD-40 – it’s a solvent and dries out the parts you’re trying to protect. For a quote on a full lubrication and adjustment visit, call (877) 541-3559.
Correct maintenance preserves your warranty; some DIY fixes void it. Self-adjusting torsion springs, increasing opener force, using the wrong lubricant, and modifying panels or hardware can all void coverage on a Clopay, Amarr, Wayne Dalton, or LiftMaster system. Read the warranty first, and let a technician handle anything beyond lubrication. Call (877) 541-3559 for help identifying what’s covered.
Because of rust, more than age. Bellevue’s wet winters keep the inside of a garage damp, and moisture on a torsion spring causes corrosion that shortens the spring’s life. A five-minute annual inspection and a light coat of the right lubricant are the best prevention. If a spring is already showing rust, call (877) 541-3559 for an honest assessment rather than waiting for it to snap.
Yes. We provide free estimates in Bellevue, and our technicians quote before any work starts. Call (877) 541-3559, and we’ll confirm what your door needs – a lubricate-and-adjust visit, a spring replacement, or an opener repair – and give you a written price for approval before any work begins.
The Bottom Line
Garage door maintenance isn’t about a long list of tasks done once a year. It’s about catching the small, specific signs that Bellevue’s wet climate accelerates: rust on springs, moisture at the bottom seal, grit in the tracks. Run a monthly check, lubricate the right parts quarterly with the right products, do a real inspection once before and after the wet season, and leave springs and cables to a trained professional. Keep the manufacturer’s warranty in mind, and never trade a maintenance shortcut for a bigger repair. Our technicians have up to 14 years of experience, and we’re ready when a check turns up something worth fixing.
Contact
Have a maintenance question or a door that needs a professional look? Call Bellevue Garage Door Repair Co at (877) 541-3559 for a free estimate. Our technicians work on LiftMaster, Chamberlain, Genie, Clopay, Amarr, Wayne Dalton, Craftsman, and Raynor systems, and every price is quoted and agreed before any work starts.
Written by the team at Bellevue Garage Door Repair Co.